Best Photo Spots Around Tromsø for Northern Lights: Complete Guide 2026-2027
Northern Lights photography Tromsø: Best dark sky spots Telegrafbukta (5km), Ersfjorden (35km, Bortle 2-3). Camera gear, settings, safety. Complete 2026-2027 guide.
Last updated: August 31, 2026
TL;DR
Top Northern Lights photo spots near Tromsø include Telegrafbukta beach (5km, Bortle 4, accessible, parking, foreground rocks/boats), Ersfjorden (35km, Bortle 2-3, dramatic fjord mountains, requires car), Grøtfjord (60km, Bortle 1-2, darkest skies, reflections, remote), and Kvaløya viewpoints (10-25km, Bortle 3-4, varied foregrounds). Essential photography gear: full-frame or APS-C camera with manual controls, wide-angle lens 14-24mm f/2.8 or wider, sturdy tripod (€50-150), spare batteries (cold drains rapidly), headlamp with red filter. Camera settings: 10-25 second exposure, f/2.8 aperture, ISO 1600-3200, manual focus infinity, RAW format. Light pollution requires escaping Tromsø city (Bortle 6-7) driving 5-60km to Bortle 2-4 dark locations. Safety essentials: inform others of location, carry charged phone plus backup battery, proper -30°C winter gear, emergency supplies, avoid remote solo trips. Telegrafbukta works for non-drivers (taxi €20-30 each way) while Ersfjorden, Grøtfjord require rental cars. Best timing: 9pm-2am peak aurora hours, check aurora forecast apps (KP 3+), clear sky predictions. Composition tips: include foreground interest (mountains, water, trees), rule of thirds, avoid light pollution in frame. Winter access challenges include icy roads requiring winter tires, limited daylight for location scouting, extreme cold affecting equipment.
5–8 hours for aurora hunt with meal and photos. Book The Aurora Hunt
Discover what fits this part of your trip. The minibus aurora chase includes warm suits, camera-setting help and high-resolution photos. Explore Small-Group Aurora Chase With HD Photos
What Makes a Good Northern Lights Photography Location?
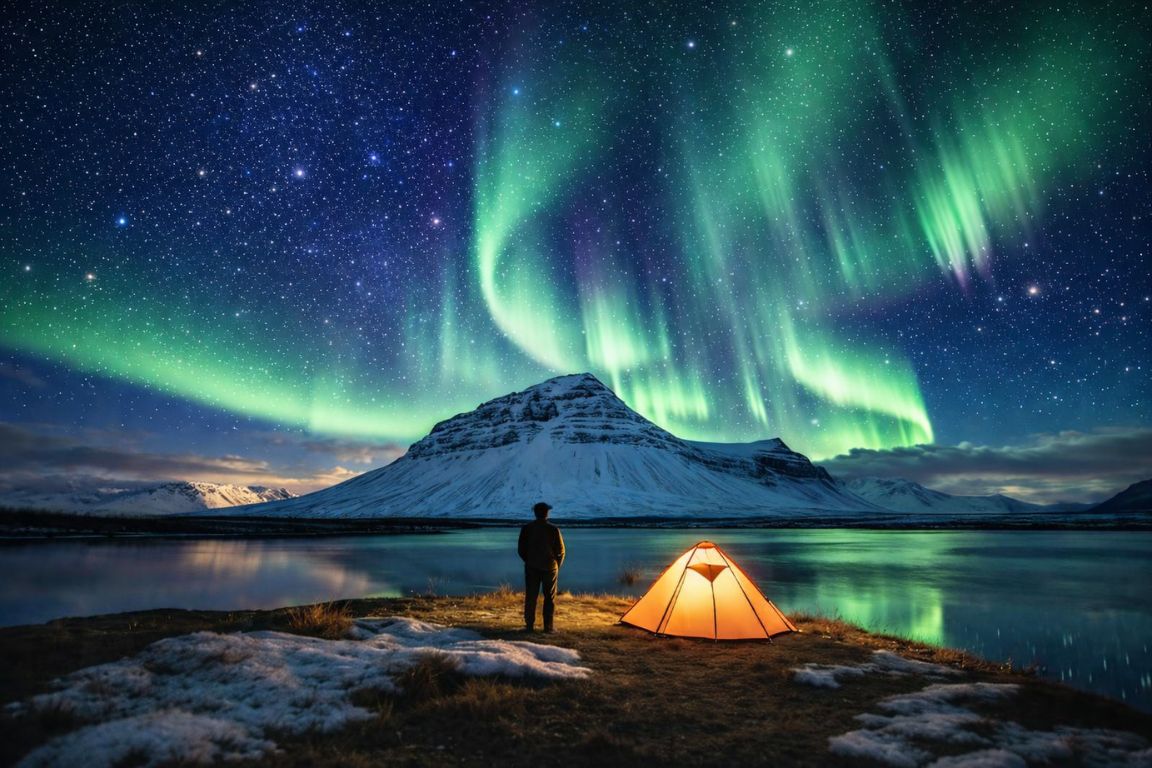
Dark skies measuring Bortle 3 or lower on light pollution scale enable capturing fainter aurora details and star-filled backgrounds impossible near city lights.
Interesting foreground elements including mountains, fjords, trees, or coastal features create compelling compositions versus empty sky-only shots lacking visual anchors.
Accessibility balancing dark skies against safety and logistics, with ideal spots being 20-40km from Tromsø offering Bortle 2-3 darkness while remaining reachable within 30-45 minute drives.
Clear views toward northern horizons enable capturing full aurora arcs and curtains without obstruction from mountains, buildings, or trees blocking displays.
Table: Essential Elements for Aurora Photography Locations
| Factor | Ideal Specification | Why It Matters | How to Verify | Deal-Breakers |
|---|---|---|---|---|
| Dark Sky (Bortle Scale) | Bortle 1-3 | Shows faint aurora, stars, details | Light Pollution Map apps | Bortle 6+ (too bright) |
| Foreground Interest | Mountains, water, trees, structures | Composition depth, context | Google Earth, location scouting | Empty boring sky only |
| Northern View | Unobstructed 0-90° horizon | Full aurora arc visibility | On-site verification | Mountains blocking north |
| Accessibility | 5-60km, paved roads | Safety, winter driving | Google Maps, road reports | 80km+ remote danger |
| Safety | Cell service, escape routes | Emergency contact possible | Test phone signal | Zero signal, single track |
| Parking | Pull-off or lot | Equipment unloading, safety | On-site check | Narrow road, no shoulder |
| Water/Reflections | Fjord, lake, ocean nearby | Double aurora in reflections | Maps, scouting | Waves too rough |
| Wind Protection | Natural barriers | Tripod stability, comfort | Weather patterns, terrain | Exposed coastal gales |
The Bortle scale (1-9) measures light pollution with Tromsø city center rating Bortle 6-7 (bright suburban) requiring drives of 5-60km reaching Bortle 2-4 (rural to dark) for quality photography.
Foreground importance cannot be overstated with professional aurora images always including landscape context (mountains, water, trees) creating visual interest versus amateur sky-only shots.
Northern horizon access matters since aurora displays concentrate along geomagnetic north (roughly true north in Tromsø) with obstructions blocking prime viewing sectors.
The accessibility safety balance shows spots beyond 60km becoming dangerous during winter with limited cell service, single-track roads, and help being 60-90+ minutes away if issues arise.
Water reflections double visual impact with calm fjords or lakes mirroring aurora creating stunning symmetrical compositions, though wind disrupts reflections making calm conditions essential.
Parking safety prevents roadside accidents with proper pull-offs enabling equipment unloading without obstructing traffic or risking being struck by passing vehicles.
Wind protection from terrain features (valleys, lee shores) stabilizes tripods and improves photographer comfort during 1-3 hour shooting sessions in -15°C conditions.
Cell service enables checking updated aurora forecasts, cloud movements, and emergency contact if vehicles fail or photographers become disoriented in unfamiliar areas.
Photographers who want a guide to choose the stop can check the Ultimate Aurora Hunt & Citizen Science Adventure .
What Are the Best Accessible Locations Near Tromsø?
Telegrafbukta beach (5km south) provides easiest dark sky access with Bortle 4 darkness, parking, 10-minute taxi rides (€20-30), and rocky beach foregrounds creating composition opportunities.
Kvaløysletta viewpoints (15km west) offer Bortle 3-4 darkness with mountain backgrounds, roadside pull-offs, and 20-minute drives balancing accessibility against quality dark skies.
Grønnfjord bridge area (20km southwest) delivers Bortle 3 darkness with fjord reflections, mountain silhouettes, and reasonable accessibility via main highway 862 requiring 25-minute drives.
Breivikeidet ferry terminal (8km) provides moderate Bortle 4-5 darkness with water views and easy access though light pollution from Tromsø remains visible limiting faint aurora capture.
Check your travel date before arranging other plans. The minibus aurora chase includes warm suits, camera-setting help and high-resolution photos. Check Small-Group Aurora Dates
Table: Accessible Locations Under 25km from Tromsø
| Location | Distance | Drive Time | Bortle Rating | Parking | Foreground | Accessibility | Cell Service | Best For |
|---|---|---|---|---|---|---|---|---|
| Telegrafbukta Beach | 5km south | 10 min | 4 | Good pull-off | Rocky beach, distant mountains | Excellent, taxi viable | Good | Beginners, non-drivers |
| Breivikeidet Ferry Terminal | 8km | 12 min | 4-5 | Ferry lot | Water, city glow | Excellent | Good | Emergency close option |
| Kvaløya Roadside (Rv 862) | 15km west | 18 min | 3-4 | Multiple pull-offs | Mountains, varied | Very Good | Moderate | Quick drives, families |
| Grønnfjord Bridge | 20km SW | 25 min | 3 | Small pull-off | Fjord, mountains | Good | Moderate | Intermediate photographers |
| Ramfjord | 22km E | 28 min | 3-4 | Roadside | Fjord, village lights | Good | Good | East side alternative |
Telegrafbukta specifically suits photographers without rental cars since taxis charge €20-30 each way (€40-60 roundtrip split among 2-3 people becomes €13-30 each) accessing decent darkness.
The location advantage shows Telegrafbukta, Breivikeidet, and near Kvaløya spots requiring just 10-20 minutes driving enabling multiple location visits same evening if conditions change.
Bortle 4 darkness at accessible locations reveals moderate aurora displays (KP 3-4) clearly with some star backgrounds, though fainter KP 2 displays and detailed Milky Way remain challenging.
Parking safety at these spots varies with Telegrafbukta offering dedicated pull-off, while highway 862 Kvaløya sections having narrow shoulders requiring careful positioning avoiding traffic.
Emergency access from close locations enables returning to Tromsø within 15-25 minutes if weather deteriorates, equipment fails, or photographers feel unsafe continuing sessions.
The foreground variety shows Telegrafbukta’s rocky beach and boats, Kvaløya’s mountain silhouettes, and Grønnfjord’s bridge structures providing composition options versus empty horizons.
Cell service reliability remains good at accessible locations enabling real-time aurora forecast checking, cloud movement monitoring, and contact with others if needed.
Tourist traffic at Telegrafbukta means encountering other photographers (both helpful for photo assistance and potentially disruptive with light pollution from headlamps and car lights).
Need to navigate Tromsø efficiently? Our transportation guide maps bus routes to major attractions, compares airport transfer options, and explains when taxis versus walking makes sense.
Where Are the Premium Dark Sky Locations?
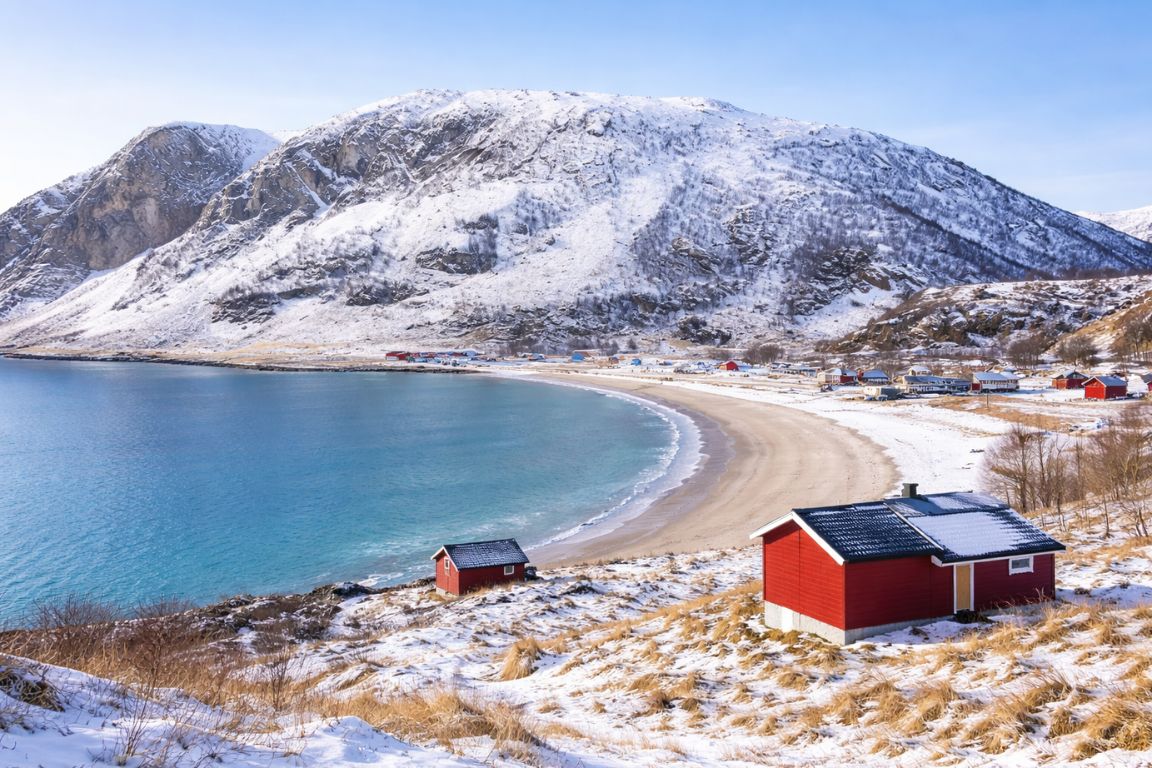
Ersfjorden (35km northwest) ranks as premium accessible dark sky with Bortle 2-3 rating, dramatic fjord mountain amphitheater, and reflections creating professional-quality composition opportunities.
Grøtfjord (60km northwest) provides darkest accessible skies at Bortle 1-2 with minimal light pollution, though 75-minute drives and remote isolation requiring experience and preparation.
Sommarøy island area (70km west) delivers Bortle 2 darkness with coastal Arctic landscapes, though 90-minute drives and limited winter services making it advanced photographer destination.
Lyngen Alps viewpoints (60km east) offer Bortle 2-3 darkness with spectacular mountain backdrops, though avalanche risks and remote locations requiring local knowledge and caution.
Table: Premium Dark Sky Locations 30-70km from Tromsø
| Location | Distance | Drive Time | Bortle Rating | Darkness Quality | Foreground | Difficulty | Cell Service | Best For |
|---|---|---|---|---|---|---|---|---|
| Ersfjorden | 35km NW | 40 min | 2-3 | Excellent | Fjord mountains, reflections | Moderate | Moderate | Serious amateurs |
| Grotfjord | 60km NW | 70 min | 1-2 | Outstanding | Fjord, coastal, dark | High (remote) | Limited | Advanced only |
| Sommarøy Area | 70km W | 85 min | 2 | Excellent | Arctic coastal, islands | High (remote, winter services) | Limited | Experienced photographers |
| Lyngen Alps (East) | 60km E | 70 min | 2-3 | Excellent | Dramatic mountains | Very High (avalanche risk) | Limited | Expert with knowledge |
| Kattfjord | 30km S | 35 min | 3 | Very Good | Fjord, mountains, villages | Moderate | Moderate | Intermediate step-up |
| Vengsøy | 45km NW | 50 min + ferry | 2-3 | Excellent | Island, isolation | High (ferry times) | Very Limited | Adventure photographers |
Ersfjorden specifically earns reputation as “aurora photographer’s paradise” with 200-degree northern horizon views, calm fjord reflections, and 400m mountain walls creating dramatic scale.
The darkness quality at Bortle 2-3 locations (Ersfjorden, Grøtfjord) reveals faint KP 2 aurora invisible near city, with Milky Way clearly visible and detailed star fields enhancing compositions.
Grøtfjord’s Bortle 1-2 rating approaches true dark-sky preserve quality with zero light pollution visible on horizons, though 60km distance and isolation limiting accessibility.
Remote location risks include single-track roads with passing places, limited winter maintenance during storms, zero cell service areas, and help being 60-90+ minutes away.
Ersfjorden accessibility balance makes it the premium recommended upgrade from Telegrafbukta for photographers wanting significantly darker skies while maintaining reasonable safety margins.
The driving challenges increase with distance involving winter roads, potential wildlife (reindeer, moose), and navigation in darkness requiring offline maps and careful attention.
Foreground drama at Ersfjorden and Lyngen Alps creates portfolio-quality images with towering mountains, sweeping fjords, and dramatic scale impossible at closer accessible locations.
Ferry dependencies at locations like Vengsøy (requiring Brensholmen-Botnhamn ferry) add complexity with last departures around 10-11pm potentially trapping photographers overnight if timing miscalculated.
Weather vulnerability increases with distance as coastal areas experience different conditions than Tromsø, with clear city skies becoming foggy or cloudy at remote fjord locations.
What Camera Settings Work Best for Aurora?
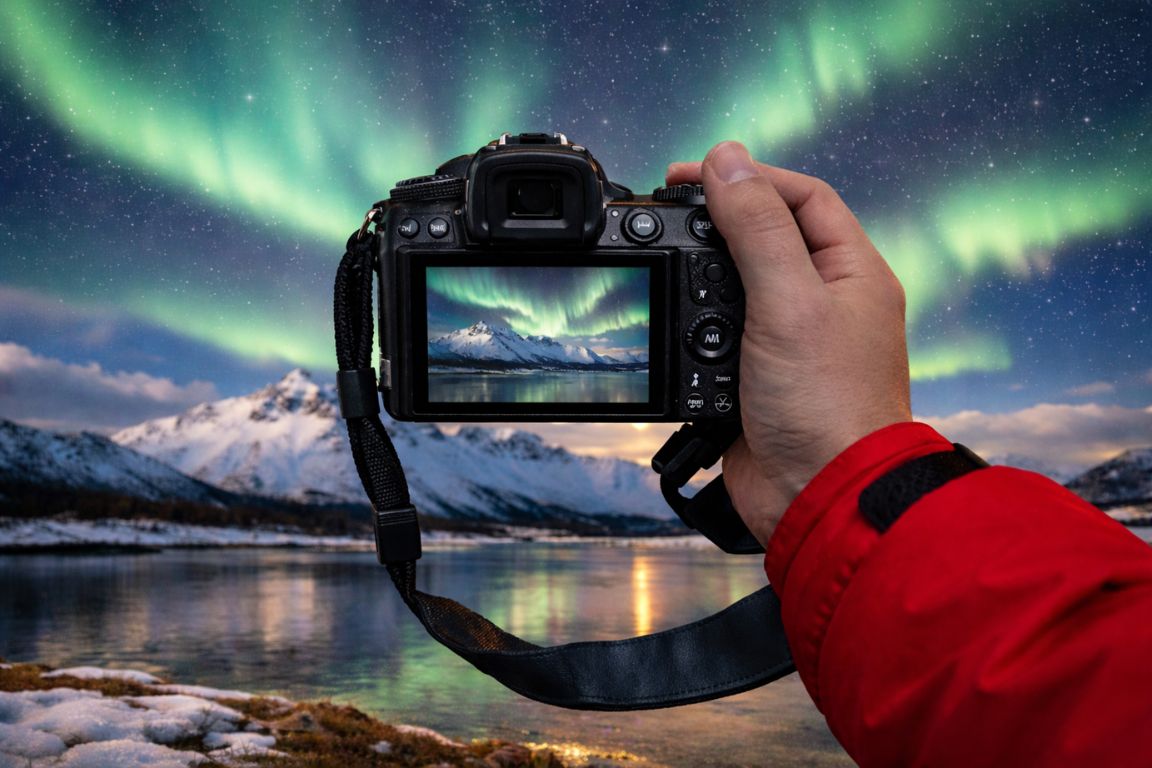
Manual mode with 10-25 second exposures captures sufficient light for aurora visibility while preventing overexposure of bright displays or excessive star trailing.
Wide aperture f/2.8 or wider (f/2.0, f/1.8, f/1.4) gathers maximum light enabling shorter exposures and lower ISOs reducing noise in final images.
ISO 1600-3200 provides sweet spot balancing sensitivity for aurora capture against noise levels, with modern cameras handling these ISOs acceptably especially when shooting RAW.
Manual focus set to infinity ensures sharp stars and aurora since autofocus fails in darkness, requiring testing focus on distant lights before aurora appears.
Check your travel date before arranging other plans. The minibus aurora chase includes warm suits, camera-setting help and high-resolution photos. Check Small-Group Aurora Dates
Table: Complete Camera Settings Guide for Aurora Photography
| Setting | Beginner | Intermediate | Advanced | Why This Setting | Common Mistakes |
|---|---|---|---|---|---|
| Exposure Time | 15-20 seconds | 10-15 seconds | 6-15 seconds (varies) | Balance light vs star trails | Too long (>25 sec = star trails) |
| Aperture | f/2.8 | f/2.0-2.8 | f/1.4-2.8 | Maximum light gathering | f/4+ too narrow (underexposed) |
| ISO | 3200 | 1600-2500 | 800-2500 (adjustable) | Light sensitivity vs noise | Too high (>6400 = excessive noise) |
| Focus | Manual infinity | Manual infinity | Manual infinity | AF fails in dark | Autofocus (blurry images) |
| White Balance | Auto (3500-4000K) | 3500K | 3200-4000K custom | Color accuracy | Daylight (5500K = wrong color) |
| File Format | RAW | RAW | RAW | Maximum editing flexibility | JPEG (limited post-processing) |
| Image Stabilization | Off | Off | Off | Conflicts with tripod | Left on (blur from IS vibration) |
| Mirror Lock-Up | If available | Yes | Yes | Reduce vibration | Not using (micro-blur) |
| Interval Timer | 2-second delay | Intervalometer | Intervalometer advanced | Eliminate shake | Hand pressing (camera shake) |
The exposure time trade-off balances gathering sufficient aurora light against star trailing, with 15 seconds being safe general starting point for 14-24mm lenses.
Earth’s rotation causes star trailing visible beyond 20-25 seconds with wide lenses (14-24mm) or 10-15 seconds with standard lenses (24-50mm), requiring shorter exposures.
Fast aurora movement during strong displays (KP 4-5) benefits from shorter 6-10 second exposures freezing curtain details versus 20-second exposures creating motion blur.
The 500 rule calculates maximum exposure preventing star trails: 500 ÷ focal length = max seconds, so 500 ÷ 14mm = 35 seconds, though 15-20 seconds produces sharper results.
ISO selection depends on aurora brightness with faint KP 2 displays requiring ISO 3200-6400, moderate KP 3-4 using ISO 1600-2500, and bright KP 5+ working at ISO 800-1600.
White balance affects color accuracy with auto producing inconsistent results, while 3500K captures natural green aurora colors, though RAW format enables post-processing adjustments.
Manual focus achieves infinity by focusing on distant lights (moon, bright stars, city glow) or using lens infinity marker as starting point, then test shooting and reviewing.
RAW format versus JPEG provides dramatically more editing flexibility for exposure, white balance, and noise reduction in post-processing, essential for aurora optimization.
Image stabilization must be disabled on tripod-mounted cameras since IS systems detect lack of movement and create paradoxical shake attempting corrections causing blur.
Remote shutter releases or 2-10 second self-timers eliminate camera shake from button pressing, with advanced photographers using intervalometers capturing time-lapse sequences.
What Equipment Do You Actually Need?
Full-frame or APS-C camera with manual controls enables adjusting exposure, aperture, ISO, and focus independently, with full-frame performing better at high ISOs though APS-C working adequately.
Wide-angle lens 14-24mm with f/2.8 maximum aperture or wider captures expansive aurora displays while gathering sufficient light, representing the most important investment.
Sturdy tripod rated for 3-5kg load provides stable platform during 10-25 second exposures, with cheap flimsy tripods causing wind vibration blur ruining images.
Spare batteries (2-3 minimum) are essential since -15°C cold drains batteries to 30-50% normal capacity, with cameras dying after 30-60 minutes without warm spares.
Table: Essential Aurora Photography Equipment List
| Equipment | Priority | Cost Range | Why Essential | Minimum Spec | Can Skip? | Weight |
|---|---|---|---|---|---|---|
| Camera Body (DSLR/Mirrorless) | Critical | €800-3000+ | Manual controls required | Manual mode, RAW | No | 1-2 lbs |
| Wide-Angle Lens f/2.8 | Critical | €400-1500+ | Capture wide scenes, gather light | 14-24mm f/2.8 | No | 1-2 lbs |
| Sturdy Tripod | Critical | €50-300 | Steady 10-25 sec exposures | 3-5kg capacity | No | 3-5 lbs |
| Spare Batteries 2-3x | Critical | €40-80 each | Cold drains batteries 50-70% | Camera compatible | No | 0.3 lb each |
| Headlamp Red Filter | Very Important | €20-50 | See without ruining night vision | Red LED mode | Bring regular flashlight | 0.3 lb |
| Remote Shutter Release | Important | €15-50 | Eliminate camera shake | Wired or wireless | Use self-timer | 0.1 lb |
| Fast Memory Cards | Very Important | €30-80 | Store large RAW files | 64GB+ UHS-I/II | Slower works poorly | 0.1 lb |
| Lens Cleaning Cloth | Recommended | €5-15 | Snow/condensation removal | Microfiber | Use shirt (risky) | 0.1 lb |
| Hand Warmers 10-20 | Recommended | €1-2 each | Keep batteries warm | Chemical or electric | Suffer cold | 0.5 lb total |
| Extra Warm Clothing | Critical | €200-400 | Prevent hypothermia standing still | -30°C rated | Dangerous without | 5-8 lbs |
Camera body choice between full-frame (better high-ISO performance, €1500-3000+) and APS-C (adequate results, €800-1500) depends on budget and seriousness level.
Lens investment matters most with fast f/2.8 wide-angle being non-negotiable, while faster f/1.4-2.0 lenses costing €800-1200+ providing marginal improvements not essential for beginners.
The tripod quality difference shows €50-150 sturdy models providing stable platforms versus €20-40 cheap tripods vibrating in slight wind causing blur despite long exposures.
Battery strategy requires keeping 2-3 spares in inner jacket pockets using body heat, swapping every 30-45 minutes as working battery drains rapidly in -15°C.
Cold weather photography demands stationary standing for 1-3 hours versus active hiking, requiring warmer clothing than activities with hand/toe warmers (€1-2 each) extending comfort.
Red-filtered headlamps preserve night vision allowing camera settings adjustment without bright white light ruining dark adaptation for 20-30 minutes, critical for aurora viewing.
Memory card speed matters with RAW files from 24-45MP cameras creating large files requiring fast UHS-I or UHS-II cards preventing buffer delays missing aurora moments.
Lens fogging occurs when bringing cold cameras into warm cars creating condensation, requiring 20-30 minute temperature adjustment or keeping cameras cold in sealed bags.
Smartphone capabilities have improved with iPhone 14/15 Pro and Samsung Galaxy S23/S24 capturing acceptable aurora photos using night mode, though lacking control and quality of dedicated cameras.
The equipment weight totals 15-25 lbs including camera, lenses, tripod, clothing creating physical burden during walks from parking to shooting locations.
Our complete packing guide for Tromsø includes detailed checklists for winter extreme cold gear (€500-1000), summer rain protection, photography equipment, and what tours actually provide.
Want help with your aurora camera settings? This minibus chase includes guide assistance and downloadable high-resolution photos. Explore The Aurora Photography Chase
What Are Common Photography Mistakes?
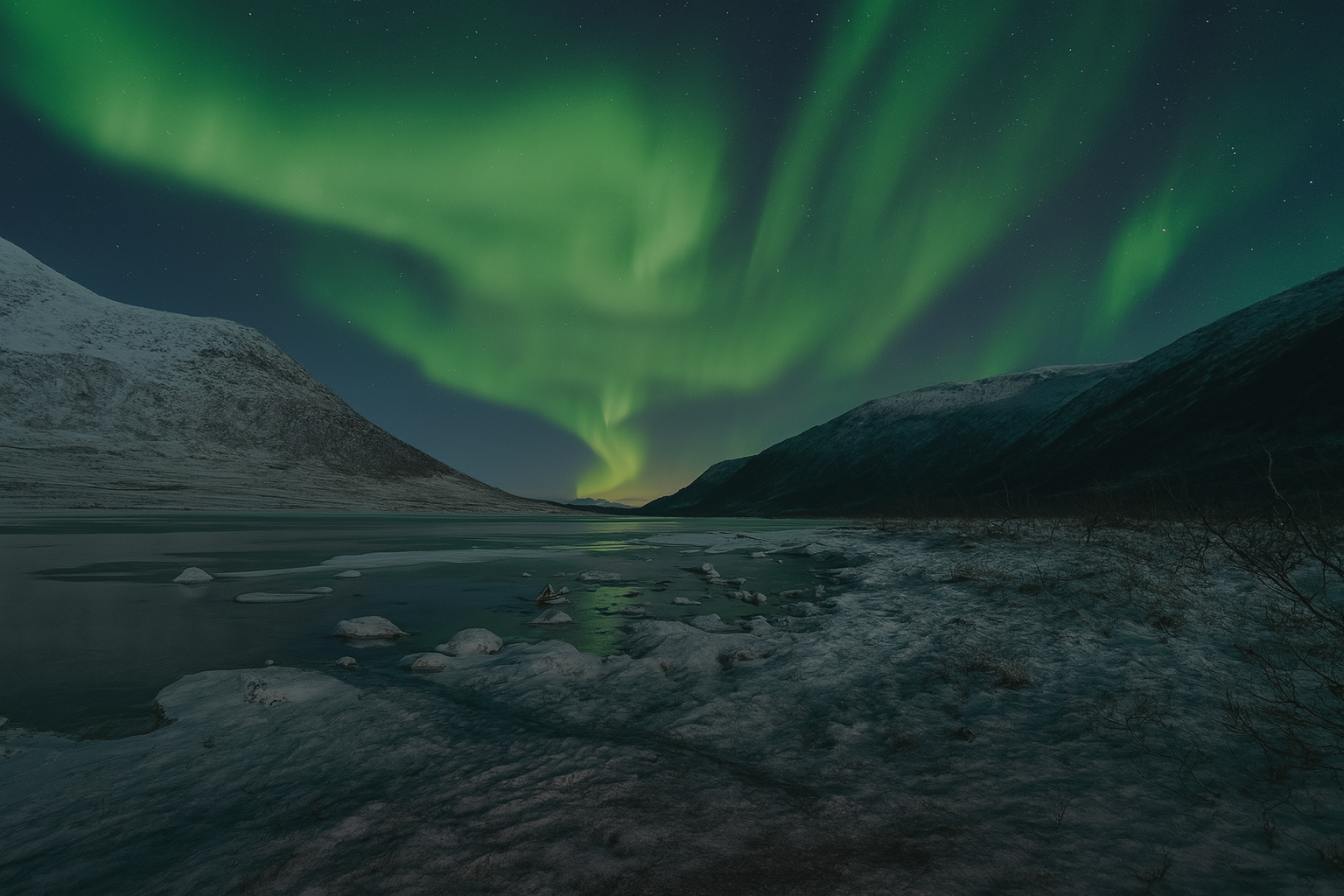
Using autofocus in darkness produces blurry images since AF systems require light and contrast unavailable during aurora shooting, requiring manual focus at infinity.
Exposure times exceeding 25 seconds create star trailing and aurora motion blur, with beginners often using 30-second exposures producing smeared unsatisfying results.
ISO set too low (400-800) underexposes aurora requiring excessive brightening in post-processing amplifying noise, while too high (6400+) creates grain overwhelming images.
Forgetting to switch from JPEG to RAW eliminates post-processing flexibility needed for recovering highlights, adjusting colors, and reducing noise in final images.
Check your travel date before arranging other plans. The minibus aurora chase includes warm suits, camera-setting help and high-resolution photos. Check Small-Group Aurora Dates
Table: Common Aurora Photography Mistakes and Solutions
| Mistake | Why It’s Wrong | Result | Solution | How to Verify | How Common |
|---|---|---|---|---|---|
| Using Autofocus | AF fails in darkness | Blurry stars/aurora | Manual focus to infinity | Review test shots at 100% zoom | Very common (60%) |
| Exposure Too Long (>25 sec) | Star trails, aurora blur | Smeared streaks | 10-20 second exposures | Check star sharpness | Common (40%) |
| ISO Too Low (<1000) | Underexposed | Dark muddy images | ISO 1600-3200 | Histogram check | Moderate (30%) |
| Shooting JPEG Not RAW | No editing flexibility | Can’t fix issues | Always shoot RAW | Menu setting | Common (35%) |
| Image Stabilization On | Creates blur on tripod | Soft images | Turn IS/VR off | Settings review | Common (25%) |
| Wrong White Balance | Unnatural colors | Blue/yellow tint | 3500K or auto | Review colors | Moderate (20%) |
| No Spare Batteries | Camera dies in cold | Missed opportunities | Bring 2-3 spares warm | Plan ahead | Common (30%) |
| Cheap Tripod | Wind vibration | Blurry despite tripod | Invest €50-150 sturdy | Image sharpness | Moderate (25%) |
| Aperture Too Narrow (f/4+) | Insufficient light | Dark underexposed | f/2.8 or wider | Exposure brightness | Moderate (20%) |
| Not Testing Focus | Assume infinity correct | Everything blurry | Test on distant lights | Review test shots | Very common (50%) |
The autofocus trap catches photographers attempting AF in darkness producing endlessly hunting lenses never achieving focus, wasting time and missing displays.
Exposure length confusion stems from seeing online recommendations of “20-30 seconds” without understanding the star trailing trade-off requiring shorter times with wide lenses.
ISO hesitancy from fear of noise leads beginners shooting ISO 400-800 producing too-dark images requiring extreme brightening amplifying noise worse than starting at ISO 1600-3200.
JPEG versus RAW represents single biggest regret with photographers unable to recover blown highlights or fix white balance in post-processing of compressed JPEG files.
Image stabilization paradox confuses photographers leaving IS enabled on tripods, with stabilization systems detecting zero movement then creating artificial shake trying to “stabilize” nonexistent motion.
Battery surprise happens when photographers bring single spare discovering it also drains quickly in cold, with camera dying after 60-90 minutes total shooting time.
Tripod quality realization occurs after purchasing €20-40 models that vibrate in slight wind, requiring €50-150 replacement purchases representing false economy of cheap initial investment.
Aperture misunderstanding shows beginners using f/4-5.6 kit lens settings producing underexposed images, not realizing f/2.8 gathers 4x more light enabling proper exposure.
Focus testing negligence leads to entire evening shooting with soft focus not discovered until returning home and reviewing images on computer at 100% zoom.
How Do You Find and Use Dark Sky Apps?
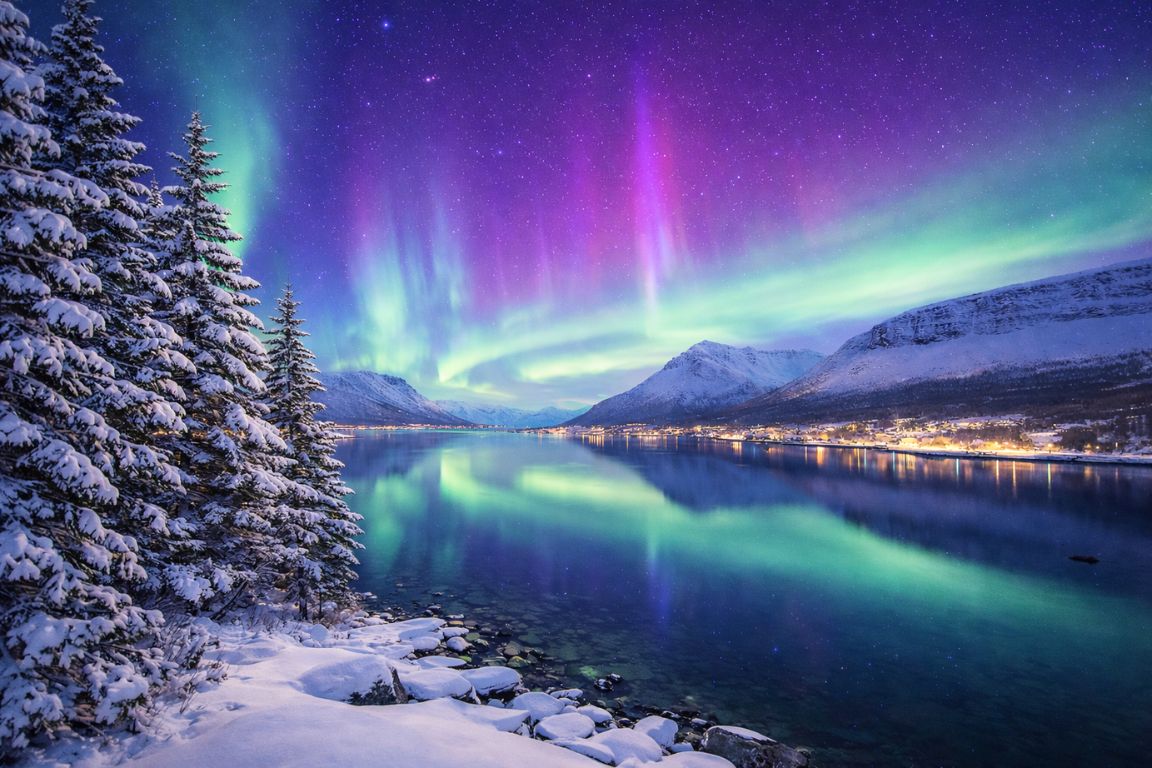
Light Pollution Map (darksitefinder.com and apps) shows Bortle scale ratings with Tromsø city center appearing orange (Bortle 6-7) while surrounding areas transition through yellow (4-5) to gray (2-3) darkness.
Clear Outside app provides hyperlocal cloud cover forecasts, temperature, wind, and aurora probability helping plan timing and location selection based on predicted conditions.
Aurora forecast apps including My Aurora Forecast and Norway Lights predict KP index and aurora oval position showing optimal viewing times and intensity expectations.
Google Maps offline downloaded covering 50km radius around Tromsø enables navigation when cell service disappears in remote areas, essential for reaching dark locations safely.
Check your travel date before arranging other plans. The minibus aurora chase includes warm suits, camera-setting help and high-resolution photos. Check Small-Group Aurora Dates
Table: Essential Apps for Aurora Location Finding
| App | Purpose | Cost | Key Features | Reliability | When Essential |
|---|---|---|---|---|---|
| Light Pollution Map | Find dark skies | Free | Bortle scale overlay, directions | Very High | Pre-trip planning |
| Dark Site Finder | Dark sky locations | Free | Interactive map, save spots | High | Location research |
| Clear Outside | Weather/clouds | Free | Hyperlocal forecasts, aurora chance | Very High | Same-day decisions |
| My Aurora Forecast | Aurora prediction | Free | KP index, notifications, oval | Medium-High | Evening planning |
| Norway Lights | Aurora alerts | Free | Norway-specific, cloud maps | High | Real-time monitoring |
| Yr.no | Weather detailed | Free | Norwegian meteorological official | Very High | 2-3 day planning |
| Google Maps Offline | Navigation no service | Free | Works without signal | Very High | Driving remote areas |
| PhotoPills | Planning compositions | €10 | Sun/moon/Milky Way planning | High | Advanced shot planning |
Light Pollution Map specifically enables identifying Bortle 2-3 zones (dark gray on map) located 20-60km from Tromsø, providing target areas for exploration and location scouting.
The Bortle scale interpretation shows: 1-2 (black/dark gray) = excellent dark sky, 3-4 (light gray/yellow) = rural/suburban, 5-6 (orange) = suburban/urban, 7-9 (red) = urban/inner city.
Clear Outside provides hour-by-hour cloud cover percentage forecasts (0-10% = clear, 10-30% = scattered, 30-60% = broken, 60%+ = overcast) guiding timing decisions.
Aurora forecast accuracy diminishes beyond 2-3 hours with solar wind travel time from satellites (orbiting 1.5 million km away) creating uncertainty in arrival timing and intensity.
KP index prediction shows: KP 0-2 (weak, visible dark locations only), KP 3-4 (moderate, clearly visible Tromsø), KP 5-6 (strong, vivid displays), KP 7-9 (extreme, rare).
The app strategy combines Light Pollution Map (where to go) + Clear Outside (when to go) + Aurora forecasts (how strong) creating comprehensive planning approach.
Offline Google Maps download captures 50km radius requiring 1-2GB phone storage, enabling navigation without cell service preventing getting lost in remote areas.
PhotoPills advanced features enable planning shots incorporating moon phases, Milky Way positions, and foreground elements though being overkill for aurora-only photography.
Real-time monitoring during evenings checking Clear Outside every 1-2 hours for cloud movement and aurora forecasts for KP index changes enables dynamic location adjustments.
What Safety Considerations Matter for Remote Photography?
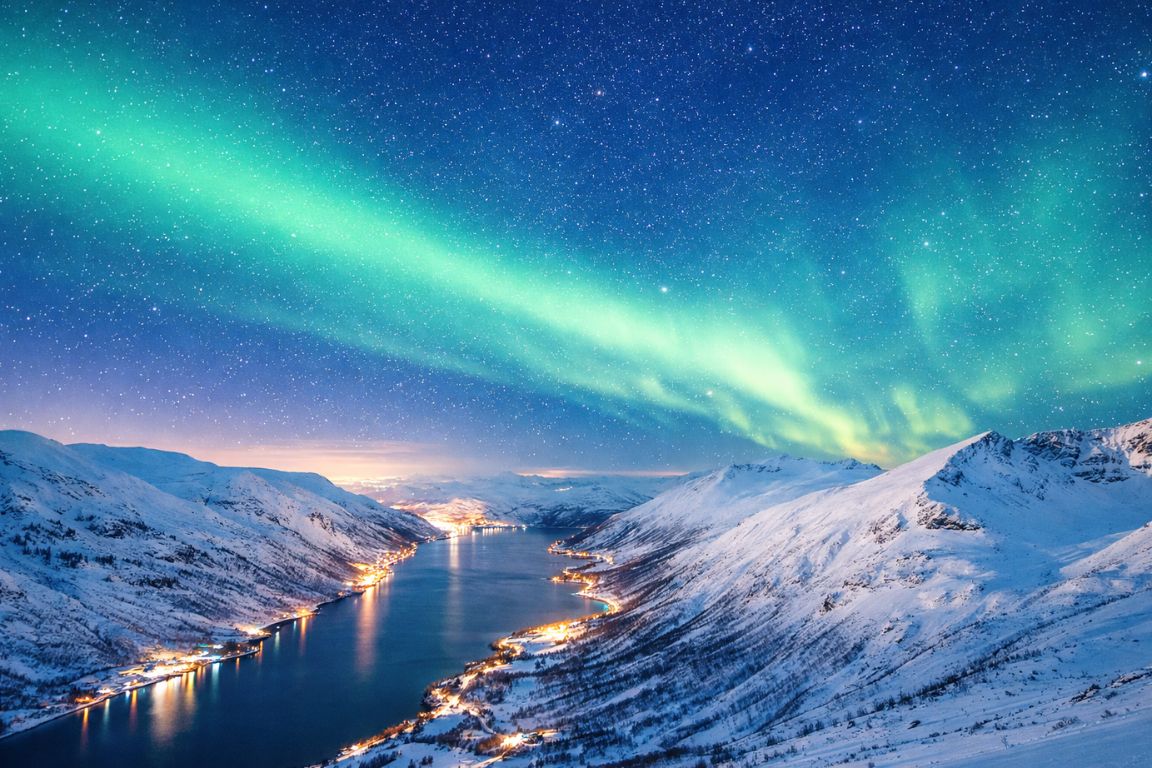
Informing others of exact location and expected return time ensures someone notices if you don’t return, enabling search and rescue activation within reasonable timeframes.
Carrying fully charged phone plus backup battery (kept warm in inner pocket) enables emergency calls, navigation, and aurora forecast checking throughout 2-4 hour sessions.
Proper -30°C winter gear including boots, layers, gloves, and face protection prevents hypothermia during stationary shooting in -15°C to -20°C conditions with wind.
Emergency supplies including whistle, space blanket, extra food, water, and first aid kit provide resources if vehicle fails or injury occurs in remote locations.
Table: Remote Aurora Photography Safety Checklist
| Safety Item | Priority | Why Essential | What to Bring | Cost | Consequences if Missing |
|---|---|---|---|---|---|
| Inform Others of Location | Critical | Rescue knows where to search | Share GPS coordinates, time | Free | No one searches if missing |
| Charged Phone + Backup Battery | Critical | Emergency contact, navigation | Main phone + 10,000mAh bank | €30-60 | Stranded with no help |
| Winter Survival Gear -30°C | Critical | Prevent hypothermia standing still | Extreme layers, boots, gloves | €300-500 | Hypothermia, frostbite |
| Emergency Whistle | Important | Signal location if injured | Loud survival whistle | €5-10 | Can’t alert rescuers |
| Offline Maps Downloaded | Very Important | Navigate without cell service | Google Maps downloaded | Free | Get lost no signal |
| Emergency Supplies (Car) | Very Important | Survive if stranded overnight | Blanket, food, water, shovel | €50-100 | Severe danger if stuck |
| Flashlight/Headlamp | Very Important | Navigate dark safely | Red filter headlamp + spare | €30-60 | Stumbling danger |
| First Aid Kit | Recommended | Treat injuries | Basic supplies | €20-40 | Untreated injuries worsen |
| Vehicle Winter Kit | Critical (if driving) | Clear snow, free if stuck | Ice scraper, shovel, sand | €40-80 | Stuck unable to free car |
| Travel Insurance Arctic | Critical | Medical evacuation coverage | Policy with Arctic activities | €50-100/week | €10,000+ evacuation costs |
The inform-others protocol should include exact GPS coordinates (from Google Maps), planned shooting time (typically 2-4 hours), and backup plan if moving between locations.
Phone battery drain accelerates in -15°C dropping from 100% to 30% within 2-3 hours outdoors, requiring backup power banks kept warm in inner jacket pockets.
Hypothermia risk increases dramatically during stationary photography versus active hiking, requiring warmer clothing than daytime activities with minimal movement generating zero body heat.
Remote location definition includes anywhere beyond 30km from Tromsø with limited cell service, single-track roads, and emergency response times exceeding 45-60 minutes.
The solo versus group debate shows solo remote photography being genuinely dangerous with no immediate help if injury, vehicle failure, or disorientation occurs.
Emergency supplies in vehicles enable surviving overnight if stuck in snow, with temperatures reaching -20°C requiring space blankets, extra clothing, and food/water.
Winter driving hazards include black ice (invisible, zero traction), reindeer/moose collisions, and snow drifts blocking roads requiring constant attention and slow speeds.
Cell service mapping via coverage maps (telenor.no, telia.no) shows zero coverage areas beyond Grøtfjord, Sommarøy, and deep fjord locations requiring preparation for communication loss.
The rescue timeline shows emergency services requiring 30-60 minutes reaching Ersfjorden area, 60-90 minutes reaching Grøtfjord, making prevention crucial versus relying on rescue.
Travel insurance covering Arctic activities and medical evacuation proves essential with helicopter rescue costing €10,000-30,000+ if injured in remote locations.
Want help with your aurora camera settings? This minibus chase includes guide assistance and downloadable high-resolution photos. Explore The Aurora Photography Chase
How Do Seasons Affect Location Access?
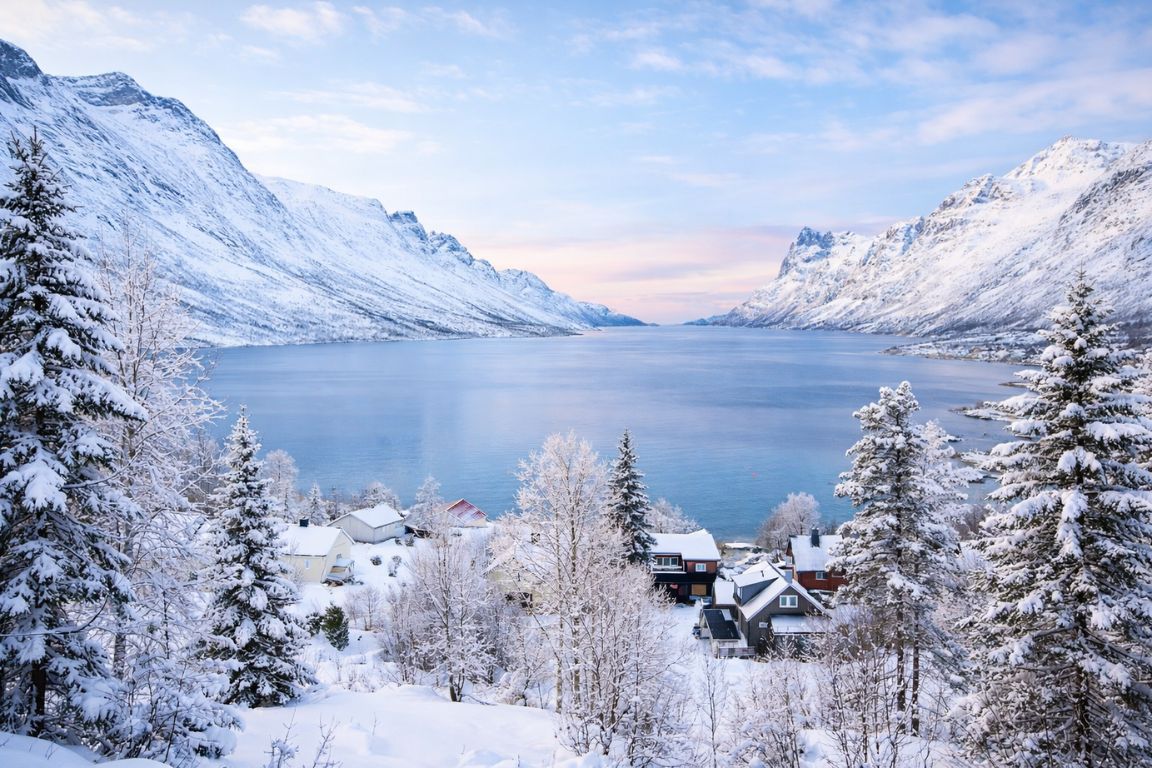
Winter December-February provides peak aurora viewing though creating challenges with icy roads, limited daylight scouting (0-6 hours), and extreme cold affecting equipment and comfort.
September-October offers easier access with ice-free roads and moderate temperatures (0°C to -8°C), though shorter darkness windows (12-16 hours) limiting shooting time.
Summer access enables location scouting during midnight sun with 24-hour daylight providing safe reconnaissance of potential spots for following winter, though no aurora visible.
Spring March-April transitions between winter conditions and summer access with variable weather, some remaining snow, and moderate aurora viewing potential in early March.
Compare seasons directly in our Tromsø winter vs summer guide covering temperatures, unique activities, and budget differences.
Check your exact travel date before arranging other plans; the hunt is conservatively suited to September–March, but the booking calendar determines actual availability. Check seasonal Aurora Hunt dates
Table: Seasonal Location Access Considerations
| Season | Road Conditions | Aurora Viewing | Daylight for Scouting | Temperature Challenge | Best For | Main Limitations |
|---|---|---|---|---|---|---|
| Winter (Dec-Feb) | Icy, studded tires essential | Peak (70-80% success) | 0-6 hours (polar night) | Extreme (-15°C to -20°C) | Aurora photography | Ice, cold, darkness |
| Autumn (Sep-Oct) | Clear, safer driving | Moderate (50-65%) | 12-16 hours | Mild (0°C to -8°C) | Learning season | Limited darkness |
| Spring (Mar-Apr) | Variable (ice/clear) | Declining (60-70% Mar, 0% Apr) | 12-18 hours | Moderate (-5°C to 0°C) | Late season attempts | Aurora ending |
| Summer (May-Aug) | Best conditions | Impossible (24hr light) | 24 hours | Comfortable (8-15°C) | Location scouting | No aurora possible |
Winter road conditions require winter tires (studded preferred) with ice-covered surfaces from November-April creating dangerous driving especially at remote locations.
The polar night scouting challenge shows photographers arriving at new locations in pitch darkness unable to see foreground options, requiring pre-trip Google Earth research or summer reconnaissance.
Temperature equipment effects include LCD screens becoming sluggish below -15°C, batteries draining rapidly, and tripod adjustments stiffening requiring extra force to operate.
September-October access advantages enable safer driving and comfortable temperatures, though success rates of 50-65% mean many trips see no aurora despite clear skies.
Summer scouting strategy involves visiting potential locations during June-July midnight sun photographing foregrounds, noting compositions, and marking GPS coordinates for winter return.
March viability shows early month (March 1-15) maintaining 60-70% aurora success with 12 hours darkness, while late month (March 16-31) sees declining activity and increasing daylight.
The year-round preparation approach involves summer location research, autumn practice runs, winter peak shooting, and spring wrap-up sessions maximizing learning and success rates.
Avalanche risks in mountain locations (Lyngen Alps, some Kvaløya spots) increase during spring warming cycles requiring avalanche awareness and avoidance of risky terrain.
For detailed month-by-month aurora viewing success rates, weather patterns, and optimal timing, see our guide on the best months to see the Northern Lights in Tromsø.
FAQs
Check your travel date before arranging other plans. The minibus aurora chase includes warm suits, camera-setting help and high-resolution photos. Check Small-Group Aurora Dates
Where is the best place to photograph Northern Lights near Tromsø?
Ersfjorden (35km northwest) offers optimal balance with Bortle 2-3 darkness, dramatic fjord mountain amphitheater foreground, reflections, and reasonable 40-minute accessibility for serious photography.
Want help with your aurora camera settings? This minibus chase includes guide assistance and downloadable high-resolution photos. Explore The Aurora Photography Chase
Can you photograph Northern Lights from Tromsø city center?
Technically yes during strong displays (KP 4+), though Bortle 6-7 light pollution washes out fainter details, star backgrounds, and colors requiring drives 5-60km to Bortle 2-4 locations.
Check your travel date before arranging other plans. The minibus aurora chase includes warm suits, camera-setting help and high-resolution photos. Check Small-Group Aurora Dates
What camera settings do I use for Northern Lights?
Start with 15-second exposure, f/2.8 aperture, ISO 1600-3200, manual focus infinity, RAW format, then adjust based on aurora brightness and movement speed.
Want help with your aurora camera settings? This minibus chase includes guide assistance and downloadable high-resolution photos. Explore The Aurora Photography Chase
How far do you need to drive from Tromsø for dark skies?
Minimum 5km (Telegrafbukta, Bortle 4) for basic darkness, 20-35km (Bortle 3) for good quality, or 60km+ (Bortle 1-2) for premium dark skies depending on quality desired.
What focal length lens is best for Northern Lights?
14-24mm wide-angle with f/2.8 maximum aperture captures expansive aurora arcs while gathering sufficient light, representing the ideal range for most aurora photography.
Want help with your aurora camera settings? This minibus chase includes guide assistance and downloadable high-resolution photos. Explore The Aurora Photography Chase
Is Telegrafbukta good for Northern Lights photography?
Yes, for beginners and non-drivers – offering Bortle 4 darkness, easy 5km access via taxi (€20-30), parking, rocky beach foreground, though not darkest skies available.
Check your travel date before arranging other plans. The minibus aurora chase includes warm suits, camera-setting help and high-resolution photos. Check Small-Group Aurora Dates
How to Plan Your Aurora Photography Location Trip
Research dark sky zones using Light Pollution Map identifying Bortle 2-4 areas (dark gray to light gray) located 5-60km from Tromsø based on driving comfort and experience.
Check weather forecasts on Clear Outside and Yr.no confirming cloud cover predictions under 30% and aurora forecasts showing KP 3+ before committing to evening drives.
Download offline Google Maps covering 50km radius around Tromsø enabling navigation when cell service disappears in remote fjord and coastal areas.
Prepare proper -30°C winter gear, camera equipment, spare batteries (warm in pockets), emergency supplies, and inform others of exact location and expected return time.
Scout locations during daytime or use Google Earth identifying parking areas, foreground elements, and northern horizon visibility before arriving in darkness.
Start close with Telegrafbukta or Kvaløya spots (5-20km) building experience before attempting remote locations like Ersfjorden (35km) or Grøtfjord (60km).
Plan 2-4 hour shooting sessions (typically 9pm-1am) accounting for setup time, multiple location attempts if clouds appear, and equipment management in cold.
Bring companions when possible for safety, photo assistance, and shared experience, avoiding solo remote trips beyond 30km especially as beginner.
For a guided evening instead of a self-planned drive, see the Luxury Northern Lights Cruise with Hot Tub & Dinner in Tromsø .
The cruise is the alternative for readers who want a water setting and a departure from Tromsø instead of planning a remote driving route. Its verified provider availability covered September through March at the registry check; use the calendar to verify the exact date.
Glossary
- Bortle Scale: 1-9 rating system measuring light pollution, with 1-2 being darkest skies and 7-9 being urban, determining aurora visibility quality.
- KP Index: 0-9 scale measuring geomagnetic activity predicting aurora strength, with KP 3+ creating visible displays in Tromsø area.
- Star Trailing: Apparent movement of stars in images during long exposures caused by Earth’s rotation, limiting exposure times to 15-25 seconds.
- RAW Format: Uncompressed image file format preserving maximum data for post-processing versus JPEG’s compressed fixed format.
- f/2.8 Aperture: Lens opening size determining light-gathering capability, with f/2.8 being standard fast wide-angle requirement for aurora photography.
Check your travel date before arranging other plans. The minibus aurora chase includes warm suits, camera-setting help and high-resolution photos. Check Small-Group Aurora Dates
Key Takeaways
- Top Northern Lights photo spots: Telegrafbukta (5km, Bortle 4, accessible, beginner-friendly), Ersfjorden (35km, Bortle 2-3, premium quality), Grøtfjord (60km, Bortle 1-2, darkest skies, advanced only), Kvaløya viewpoints (10-25km, Bortle 3-4, varied options).
- Essential camera settings: 10-25 second exposure, f/2.8 aperture, ISO 1600-3200, manual focus infinity, RAW format, with adjustments based on aurora strength. Critical equipment: full-frame or APS-C camera with manual controls, wide-angle 14-24mm f/2.8 lens, sturdy tripod (€50-150), 2-3 spare batteries kept warm, headlamp with red filter.
- Light pollution requires escaping Tromsø city (Bortle 6-7) driving 5-60km reaching Bortle 2-4 dark locations for quality photography. Safety essentials: inform others of exact GPS location and return time, carry charged phone plus backup battery, proper -30°C gear, emergency supplies, avoid solo remote trips.
- Bortle scale interpretation: 1-2 (dark gray/black) excellent, 3-4 (light gray/yellow) good, 5-6 (orange) moderate, 7-9 (red) poor for aurora. Common mistakes: using autofocus (produces blur), exposure too long over 25 seconds (star trails), ISO too low (underexposed), shooting JPEG not RAW (no flexibility).
- Telegrafbukta accessible via taxi €20-30 each way for non-drivers while Ersfjorden and Grøtfjord require rental cars. Composition tips: rule of thirds, foreground interest essential, leading lines, water reflections, avoid light pollution in frame.
- Winter challenges: icy roads requiring winter tires, limited daylight scouting (0-6 hours), extreme cold affecting equipment, batteries draining rapidly. Dark sky apps: Light Pollution Map (find locations), Clear Outside (weather/clouds), My Aurora Forecast (KP predictions), Google Maps offline (navigation). Peak shooting hours 9pm-2am with KP 3+ forecasts and under 30% cloud cover being optimal conditions.
- Post-processing: adjust white balance 3200-3800K, recover highlights, lift shadows, noise reduction 30-50, moderate clarity enhancement.
- Remote location risks: single-track roads, limited cell service beyond 30km, emergency response 45-90+ minutes, requiring preparation and caution. Start with dates for the Ultimate Aurora Hunt & Citizen Science Adventure.
Written by Erik Johansen, Tromsø tour guide for the past 15 years, specializing in Northern Lights expeditions and aurora photography locations.
Check Your Tour Date
Planning an aurora evening? Check your Tromsø date before arranging dinner or other plans; this guided hunt includes a warm meal, thermal suit and web-size souvenir photos.
Adjust activity, timing or group needs
General recommendations: confirm dates and group requirements
Scout a close-to-town location in daylight, check current road, weather, parking and access information through official sources, download offline navigation, share your route and expected return time, and prepare a backup location. Postpone the shoot if safe access, transport or communication cannot be established.
Compare Your Group’s Real Costs
Use current quotes in the same currency. Include transport, fuel, parking and equipment in your DIY total. Include all participants and extras in the tour total.
Booking takes place with the provider. Prices, exact departures and available options are shown there. We may earn a commission when you book through these links.